Most likely, you aren't simply interested in creating terrain for its own sake - you need to get your terrain from World Machine into your other applications. Here's a list of workflows, both generic and specific, to help you along.
Choose your Workflow | |||
| (Generic) 3D Rendering Software | (Generic) Game Map Creation | ||
| Terragen 2 | Vue | Unreal Engine | Crytek Engine |
| Unity | |||
... and more specific workflows to come! |
|||
World Machine can serve as an excellent terrain generator for Unity.
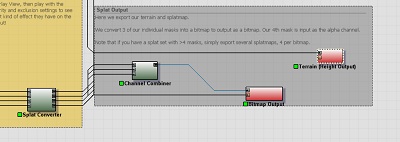
Place a Height Output device into your world. Wire the terrain you wish to export into the device's input.
Choose your export format within the File Output device. You should use the RAW16 format.
Build your world and export all files. The "Export Terrain files..." option from the File Menu provides a central location to do both.
Luckily, Unity makes it easy to import a terrain. Simply follow these steps:
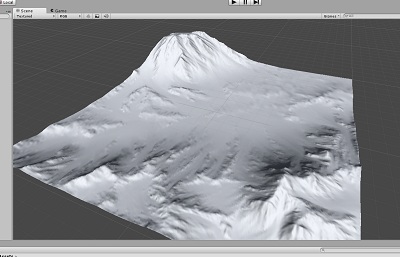
You should now have your Terrain inside Unity! You will probably have to play with the Terrain Scale to get the size to fit correctly into your scene.
One Warning: Unity interprets raw heightfield origins differently from World Machine; your terrain will appear to be flipped on the Y axis! One way to fix this is to add a Flipper device in World Machine just before your Height Output and turn on the Y-axis flip. This will make the terrain export identically.
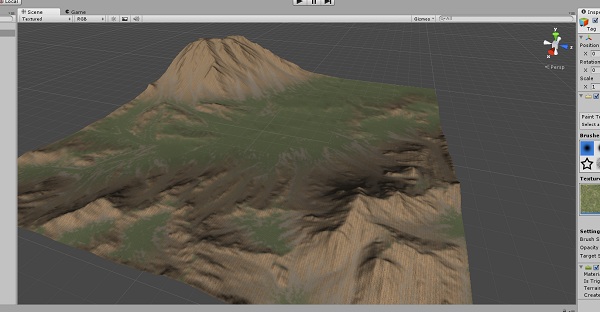
Unity has built-in support for texture weight or "splat" maps. You can create multiple layers of terrain textures and paint each one onto the terrain.
This simple workflow provides a way to import splatmaps created within World Machine into Unity. Please note that although this method works for basic Unity Terrains, many advanced users run their own terrain shaders that may require a different technique.
 Use a Splat Converter device to control your splatmaps and enforce proper splatmap weighting (sum-to-one, etc). For more details and an example world using the Splat Converter, see the "Splatmap Converter.tmd" example file included in the World Machine Examples under "New Examples for WM 2.3\Techniques"
There is one prerequisite you'll need to easily import a splatmap from World Machine. Below is a simple Unity script that helps you import and replace splatmaps. Download it and extract to your Project folder, making sure that the script ends up inside YourProject/Assets/Editor folder.
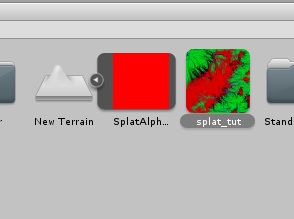 Import the splatmap you created and exported in World Machine previously. It should look like this in the browser:
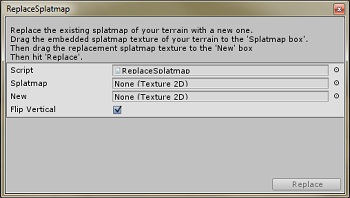 From the Terrain menu, choose "Replace Splatmap...". If you don't see this entry, it is because the Splat replacer script above has not been correctly located in your project folder.
Drag the embedded splatmap inside the terrain to the first "Splatmap" entry, then your imported splatmap to the "New" entry. When importing from World Machine,
if you have not manually flipped your heightfield previously make sure "Flip Vertical" remains checked to match the flipped orientation of the heightfield.
From the Terrain menu, choose "Replace Splatmap...". If you don't see this entry, it is because the Splat replacer script above has not been correctly located in your project folder.
Drag the embedded splatmap inside the terrain to the first "Splatmap" entry, then your imported splatmap to the "New" entry. When importing from World Machine,
if you have not manually flipped your heightfield previously make sure "Flip Vertical" remains checked to match the flipped orientation of the heightfield.